Outdoor Spigot Installation Services Overview
Visitors can learn how local service providers handle outdoor spigot installation and compare options to find the right contractor for their needs.
- - Residential homeowners seeking outdoor spigot installation for gardens, lawns, or outdoor kitchens.
- - Commercial property managers needing reliable outdoor water access solutions for businesses or public spaces.
- - Contractors and handymen looking to connect with local pros for professional outdoor spigot installation services.
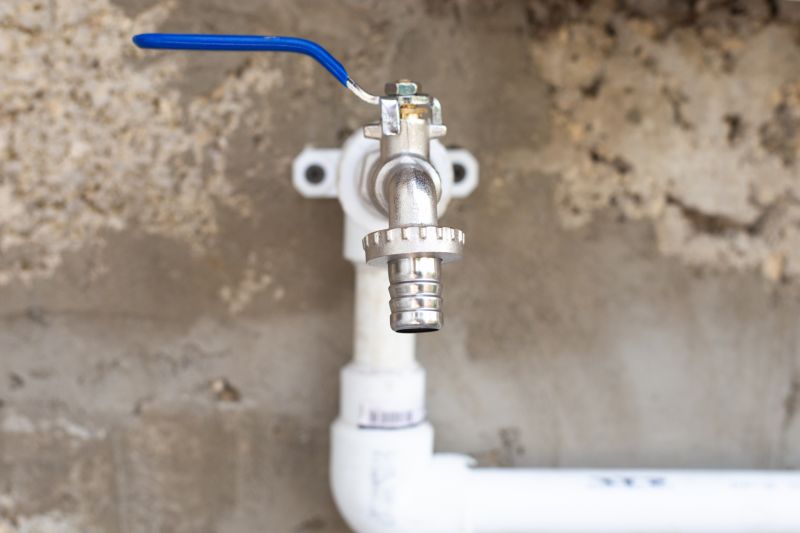

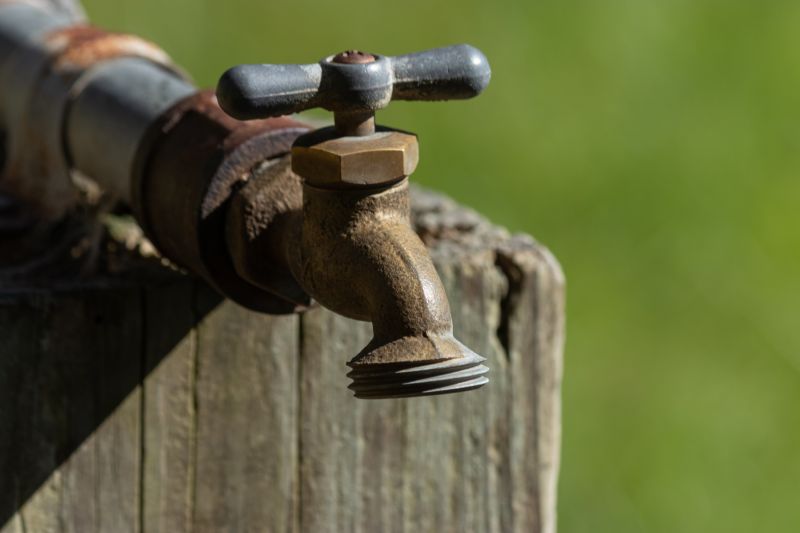
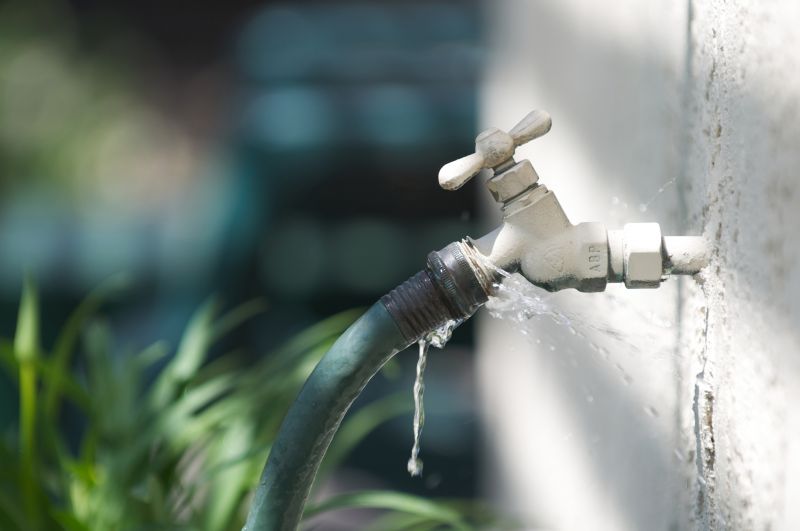
Outdoor spigot installation services involve setting up or replacing outdoor water faucets on residential or commercial properties. Property owners often seek assistance when installing new fixtures, upgrading existing ones, or repairing leaks and damage. Local contractors who specialize in outdoor plumbing work typically handle these jobs, ensuring proper connection to water lines, securing fixtures against weather, and maintaining functionality for outdoor watering needs such as gardens, lawns, or outdoor cleaning.
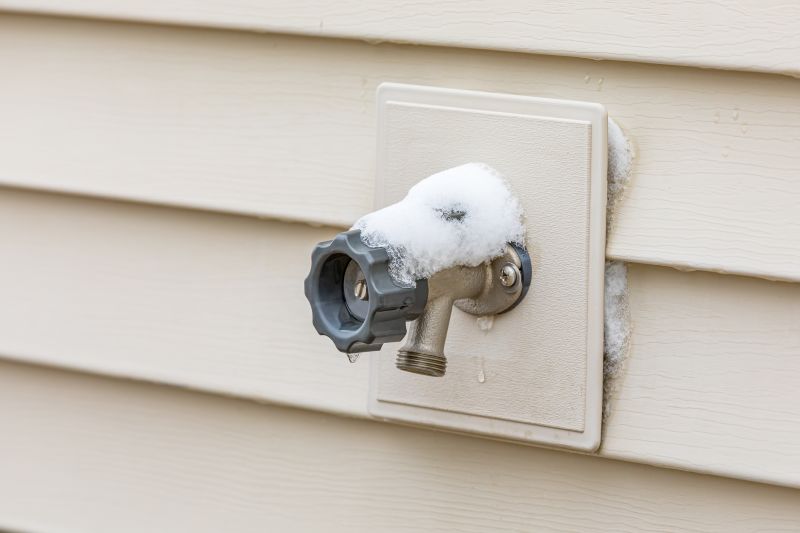
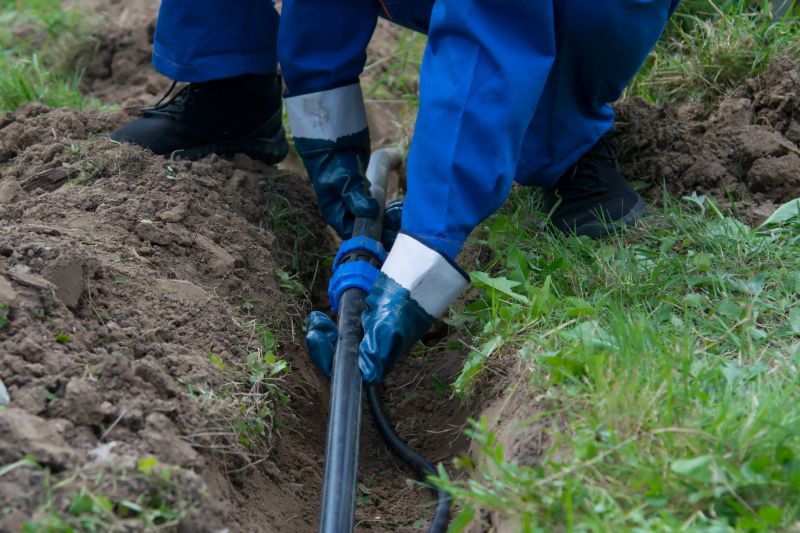
These service providers understand the considerations involved in outdoor spigot installation, including proper placement, durability, and accessibility. When choosing a local professional, property owners can expect experienced contractors to assess their property, recommend suitable solutions, and perform the installation with attention to detail. Connecting with reputable local pros can help ensure the work is completed efficiently and to standard, providing reliable outdoor water access for years to come.
This guide provides helpful information to compare and evaluate local contractors who specialize in outdoor spigot installation. It aims to assist in understanding the typical scope of work and important considerations for your project. By using this resource, you can better prepare to discuss your needs with qualified service providers in your area.